


- Home
- A-Z Catalogue
- Products
- Valves
- Cetop
- Manual Directional Valves
- Proportional Valves
- Poppet Valves
- High-Speed Linear Servo Valves
- All High-Speed Linear Servo Valves
- Cetop 10 (NG32) Two Stage Type High Speed Linear Servo Valves – LSVHG-10
- Cetop 10 (NG32) Two Stage Type High Speed Linear Servo Valves – LSVHG-10 (With Fail-Safe)
- Cetop 8 (NG25) Two Stage Type High Speed Linear Servo Valves – LSVHG-06
- Cetop 8 (NG25) Two Stage Type High Speed Linear Servo Valves – LSVHG-06 (With Fail-Safe)
- Cetop 7 (NG16) Two Stage Type High Speed Linear Servo Valves – LSVHG-04
- Cetop 7 (NG16) Two Stage Type High Speed Linear Servo Valves – LSVHG-04 (With Fail-Safe)
- Cetop 5 (NG10) Direct Type High Speed Linear Servo Valves – LSVG-03
- Cetop 5 (NG10) OBE Type Direct Operated Linear Servo Valves – LSVG-03-EH
- Cetop 3 (NG6) OBE Type Direct Operated Linear Servo Valves – LSVG-01-EH
- Pumps
- Pressure control
- Flow Control Valves
- Pressure Control Valves
- All Pressure Control Valves
- Brake Valves
- Direct Relief Valve
- Low Noise Solenoid Controlled Relief Valves
- Low Noise Pilot Operated Relief Valves
- Pilot Operated Relief Valves
- Pressure reducing and relieving valves
- Pressure reducing and check valves
- Pressure control valves
- Remote Control Relief Valves
- Solenoid Controlled Relief Valves – BSG
- Solenoid Controlled Relief Valves – BST
- Unloading relief valves
- Check valves
- Environmental
- Valves
- Hydraulic Systems
- Power pack
- About Us
- Contact
- Blog

7 Tips for Choosing an Explosion Proof CCTV Camera?
Choosing an Explosion Proof Cctv Camera is not a routine purchasing decision. In refineries, chemical plants, mines, and grain facilities, one weak specification can create a serious blind spot. Heat, dust, corrosive vapors, and pressure changes may challenge ordinary surveillance equipment.
The U.S. Chemical Safety and Hazard Investigation Board has repeatedly linked industrial incidents to overlooked process hazards and inadequate safeguards. NFPA’s Fire Loss in the United States report recorded approximately 1.5 million fires and $21.9 billion in property damage during 2022. These figures do not describe cameras alone. They show why dependable monitoring deserves careful engineering.
IECEx and ATEX frameworks focus on equipment suitability for hazardous areas. Certification should match the site’s gas group, temperature class, zone, and installation method. A shiny stainless-steel housing is not proof of protection.
“Safety is the presence of capacity,” says safety-science expert Sidney Dekker. His observation fits camera selection well. A camera must support operators when visibility, lighting, or access becomes difficult.
Experience matters here. Check the certificate, lens window, infrared performance, ingress rating, network security, and maintenance procedure. Then question the obvious choice. Does the camera remain reliable after months of salt, dust, vibration, and cleaning chemicals?
Seven practical tips will examine these details, from hazardous-area certification to remote monitoring and lifecycle cost. Some choices may still feel imperfect. That is worth admitting. A certified camera can fail when installation, grounding, or maintenance is neglected. The safest decision connects product evidence with real site conditions, documented testing, and competent installation.
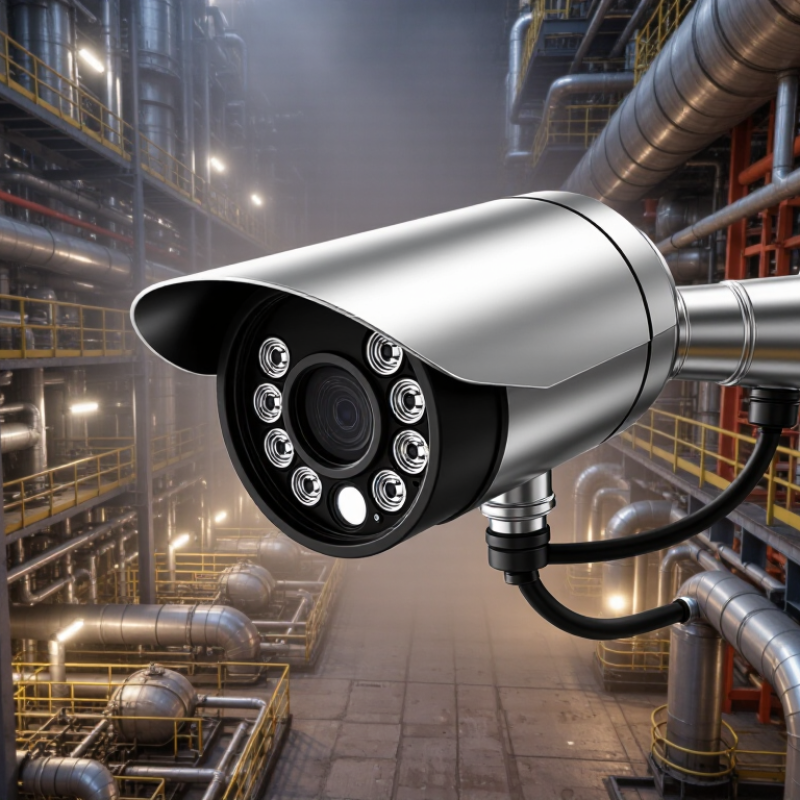
Table of Contents [Hide]
Classify the Hazardous Area: ATEX Zones 0–2 and IECEx Gas Groups
7 Tips for Choosing an Explosion Proof CCTV Camera
Classify the Hazardous Area: ATEX Zones 0–2 and IECEx Gas Groups
Tip 1: Classify the zone before comparing cameras. ATEX Zone 0 contains explosive gas continuously or for long periods. Zone 1 allows occasional gas release during normal operation. Zone 2 expects gas only briefly or abnormally. The European Commission’s ATEX Guidelines explain these distinctions. A camera rated for Zone 2 cannot automatically serve Zone 0.
Tip 2: Match the gas group and temperature class. IEC 60079-10-1 separates gases into IIA, IIB, and IIC groups. IIC represents the most demanding group, including hydrogen and acetylene. Temperature classes range from T1, with a 450°C maximum surface temperature, to T6, limited to 85°C. Check the actual gas, ignition temperature, and enclosure marking. Guessing is unsafe.
Tip 3: Verify independent certification. IECEx certificates identify equipment protection levels, gas groups, and temperature limits. Read the certificate, not only the product description. HSE recorded 138 worker fatalities in Great Britain during 2023/24, across all industries. That figure is a reminder that paperwork must reflect field conditions.
Tip 4: Inspect the installation environment. Salt spray, vibration, dust, and pressure-washing can damage seals and windows. A camera may pass a laboratory test yet fail beside a vibrating pump. Review cable glands, junction boxes, grounding, and maintenance access. This is where many selection plans become too optimistic.