


- Home
- A-Z Catalogue
- Products
- Valves
- Cetop
- Manual Directional Valves
- Proportional Valves
- Poppet Valves
- High-Speed Linear Servo Valves
- All High-Speed Linear Servo Valves
- Cetop 10 (NG32) Two Stage Type High Speed Linear Servo Valves – LSVHG-10
- Cetop 10 (NG32) Two Stage Type High Speed Linear Servo Valves – LSVHG-10 (With Fail-Safe)
- Cetop 8 (NG25) Two Stage Type High Speed Linear Servo Valves – LSVHG-06
- Cetop 8 (NG25) Two Stage Type High Speed Linear Servo Valves – LSVHG-06 (With Fail-Safe)
- Cetop 7 (NG16) Two Stage Type High Speed Linear Servo Valves – LSVHG-04
- Cetop 7 (NG16) Two Stage Type High Speed Linear Servo Valves – LSVHG-04 (With Fail-Safe)
- Cetop 5 (NG10) Direct Type High Speed Linear Servo Valves – LSVG-03
- Cetop 5 (NG10) OBE Type Direct Operated Linear Servo Valves – LSVG-03-EH
- Cetop 3 (NG6) OBE Type Direct Operated Linear Servo Valves – LSVG-01-EH
- Pumps
- Pressure control
- Flow Control Valves
- Pressure Control Valves
- All Pressure Control Valves
- Brake Valves
- Direct Relief Valve
- Low Noise Solenoid Controlled Relief Valves
- Low Noise Pilot Operated Relief Valves
- Pilot Operated Relief Valves
- Pressure reducing and relieving valves
- Pressure reducing and check valves
- Pressure control valves
- Remote Control Relief Valves
- Solenoid Controlled Relief Valves – BSG
- Solenoid Controlled Relief Valves – BST
- Unloading relief valves
- Check valves
- Environmental
- Valves
- Hydraulic Systems
- Power pack
- About Us
- Contact
- Blog

What Is Vinyl Cutter Software and How Does It Work?
Vinyl Cutter Software turns a design file into controlled blade movements. It reads vector paths, assigns cutting lines, and sends instructions to a vinyl cutter. The machine then follows those paths across adhesive vinyl, heat-transfer film, or stencil material. A small blade may trace a logo, lettering, or a window graphic within millimetre-level settings. The process looks simple. It is not always simple.
According to Grand View Research’s Digital Printing Market report (2024), the global digital printing market reached approximately USD 35 billion in 2023. This growth reflects stronger demand for short runs, personalisation, and faster production. FESPA’s Print Census 2023 also identifies workflow efficiency and automation as important industry priorities. Vinyl cutting fits this shift. It allows sign shops, apparel decorators, and small studios to move from screen to finished material without creating a physical printing plate.
Understanding Vinyl Cutter Software requires more than learning which button starts a cut. Users must consider vector quality, scale, blade pressure, cutting speed, weeding borders, and material stretch. Poorly prepared nodes can create jagged corners. Incorrect pressure may tear thin lettering. These details are often overlooked. They should not be.
This guide explains how the software communicates with cutting hardware, prepares artwork, and manages production settings. It also compares common workflow choices and practical limitations. No software profile is universally best. Results depend on the cutter, material, operator experience, and file preparation. That is an important point to remember. Industry reports provide useful direction, but real workshop testing remains essential.
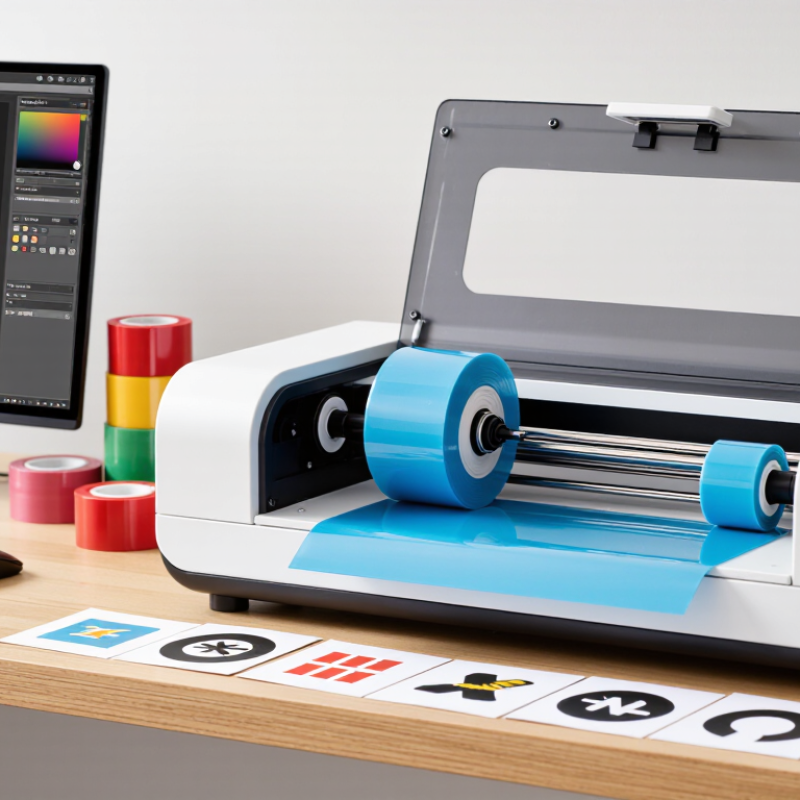
Table of Contents [Hide]
What Is Vinyl Cutter Software?
Vinyl cutter software is a digital tool that prepares designs for a cutting machine. It converts letters, shapes, and illustrations into precise paths. These paths tell the blade where to move, pause, and change direction. Unlike ordinary design software, it also controls cutting details such as speed, pressure, blade depth, and material settings.
A typical workflow begins with importing a vector file or creating artwork inside the program. The software removes unnecessary overlaps and assigns cut lines to specific objects. It may also mirror the design, add weeding lines, or divide a large graphic into sections. Before cutting, users can preview the layout and check its size. This step matters because a small scaling mistake can ruin an entire sheet of vinyl.
Keep the design simple.
In practical use, software settings require testing. A setting that works for thin adhesive vinyl may fail on thicker heat-transfer material. I often begin with a small test shape, then adjust pressure gradually. Some programs offer automatic presets, but they are not always accurate. Material age, blade condition, and surface texture can change the result. Beginners may expect one-click cutting, yet careful preparation usually produces cleaner corners and fewer wasted materials. A reliable operator also checks file paths closely, because tiny gaps can cause unwanted breaks in the final design.